Deploy your iOS App on App Store without a Mac
With React-Native and Visual Studio App Center

Most people think that it’s impossible to deploy an app to Apple Store without having a Mac but with VS App Center we can use XCode on the cloud and deploy our App to the App Store
If you want to deploy to App Store, you need your app to be deployed with a REAL MAC FOR THE FIRST TIME. Then you can use VS App Center to deployed it (CI & CD)
Requirements
As we don’t have a Mac, we will develop our React-Native App with Windows and Android.
Of course, you still need an Apple Developer Account https://developer.apple.com/programs/enroll/
Follow the instructions here to start your App with React Native CLI Quickstart for Windows and Android https://facebook.github.io/react-native/docs/getting-started
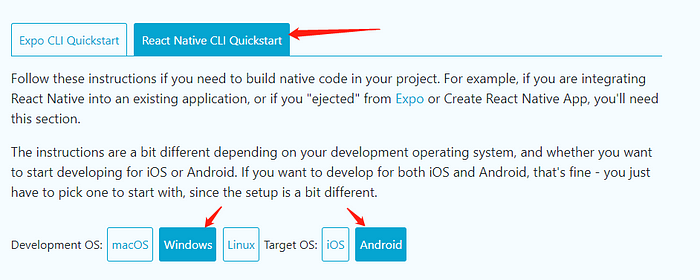
As written in instructions, I recommend you to use https://chocolatey.org/ to install all the tools.
Create your React-Native App
$ react-native init IblisProjectIt’s better for you to use a different name for your project as it will generate a Bunde ID (in App Store it must be unique). In the following, you just have to replace IblisProject with the name you choose.
Push your app to your remote Git repository
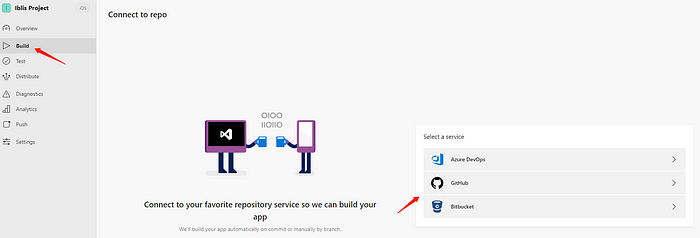
You can use only Github or BitBucket
$ cd IblisProject
$ git init
$ git add .
$ git commit -m "first commit"
$ git remote add origin https://xxx@bitbucket.org/xxx/xx.git
$ git push -u origin master
Register your Bundle ID on App Store
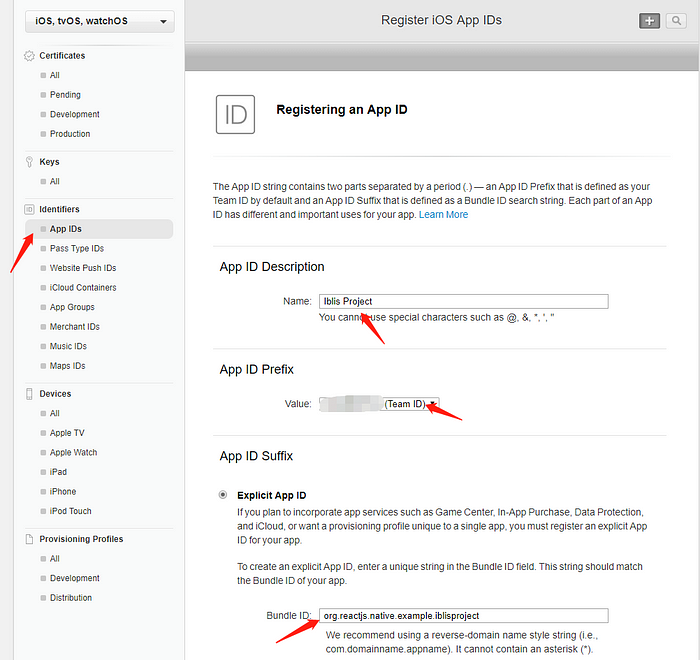
Go to https://developer.apple.com/account/ios/identifier/bundle
By default, the Bundle ID set up by React-Native is org.reactjs.native.example.iblisproject (you can change it if needed)
Create your AppStore Certificate
To create all the Keys you need to have OpenSSL installed. On Administrator Powershell launch :
$ choco install openssl.lightCreate your RSA key
$ openssl genrsa -out iblis.key 2048Create your Certificate Signing Request (CSR)
$ openssl req -new -key iblis.key -out iblis.certSigningRequestFill all pieces of information needed (Country, Company name, etc …)
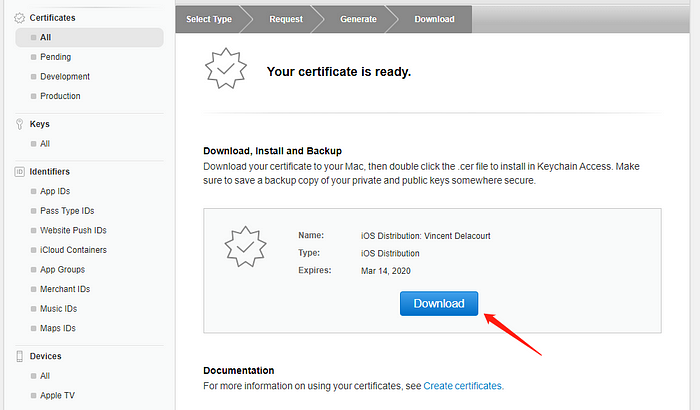
Go to the Certificate in Apple Developer Portal https://developer.apple.com/account/ios/certificate/


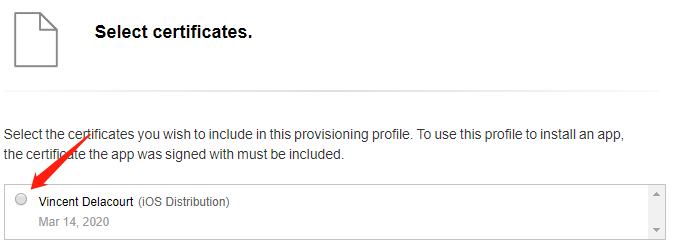
Create your AppStore Production Provisioning Profiles
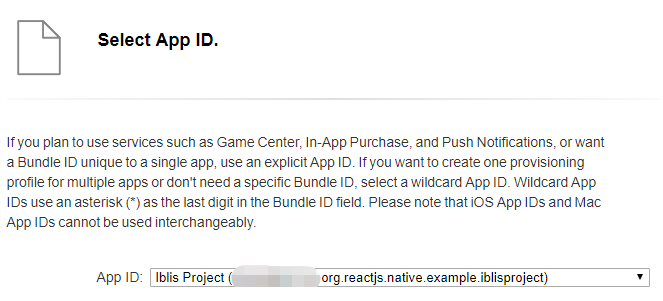
Go to the Certificate in Apple Developer Portal https://developer.apple.com/account/ios/profile/production




Create the p12 Key
Generate the pem file
$ openssl x509 -in .\ios_distribution.cer -inform DER -out .\ios_distribution.pem -outform PEMGenerate the p12 and fill password when asked (remember it)
$ openssl pkcs12 -export -inkey .\iblis.key -in .\ios_distribution.pem -out .\ios_distribution.p12Create your App in the App Store
Go to https://appstoreconnect.apple.com/


Open an account in Visual Studio App Center
Create your account here: https://appcenter.ms/create-account
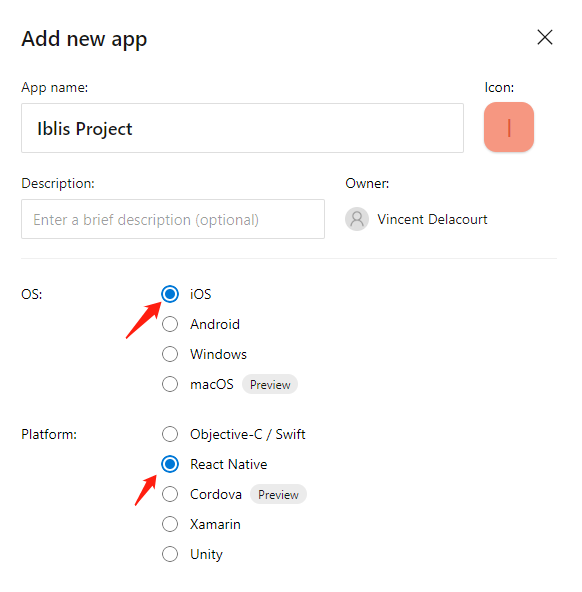
After creating your account, choose to add a new app


Upload your release for the first time (if needed)
Setup your app Icon
Install generator-rn-toolbox
$ npm install -g yo generator-rn-toolboxInstall ImageMagick
$ choco install imagemagick.appDownload an icon template (can use this one if you don’t have one) https://facebook.github.io/react-native/img/showcase/adsmanager.png
Move the file icon.psd to the app folder and launch
$ yo rn-toolbox:assets --icon adsmanager.png --iosAdd export compliance keys
In ./ios/IblisProject/info.plist paste at the end before </dict></plist>
<key>ITSAppUsesNonExemptEncryption</key>
<false/>
Then commit the created files and push to the remote.
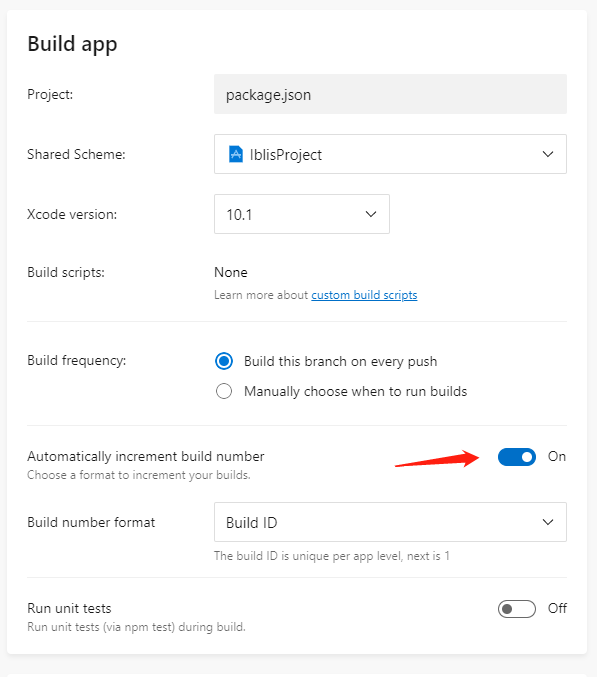
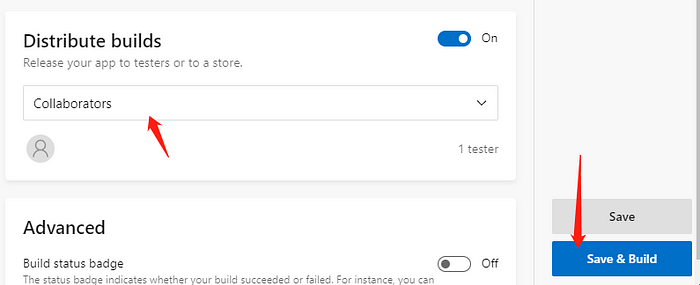
If you have selected “Build this branch on every push” the app will be built automatically.

If it’s the first time, you cannot use VS App Center to deploy to the store

Then you need a mac. But you don’t need to have XCode and compile the project. You can ask a friend :) to use Application Loader and upload the .ipa

Deploy your App to App Store (if already be deployed once)


To Deploy to App Store you just have to choose the build and Submit for Review
Of course for development of real app, it’s hardly recommended to have a Mac and make local development with XCode. Anyway, you can still use this method for Continuous Deployment for your iOS App.
